~ Butterfly Lullaby Post It Note Holder ~
April 10th, 2016 by Holly McMillen
Quick and Easy Post It Note Holder Tutorial
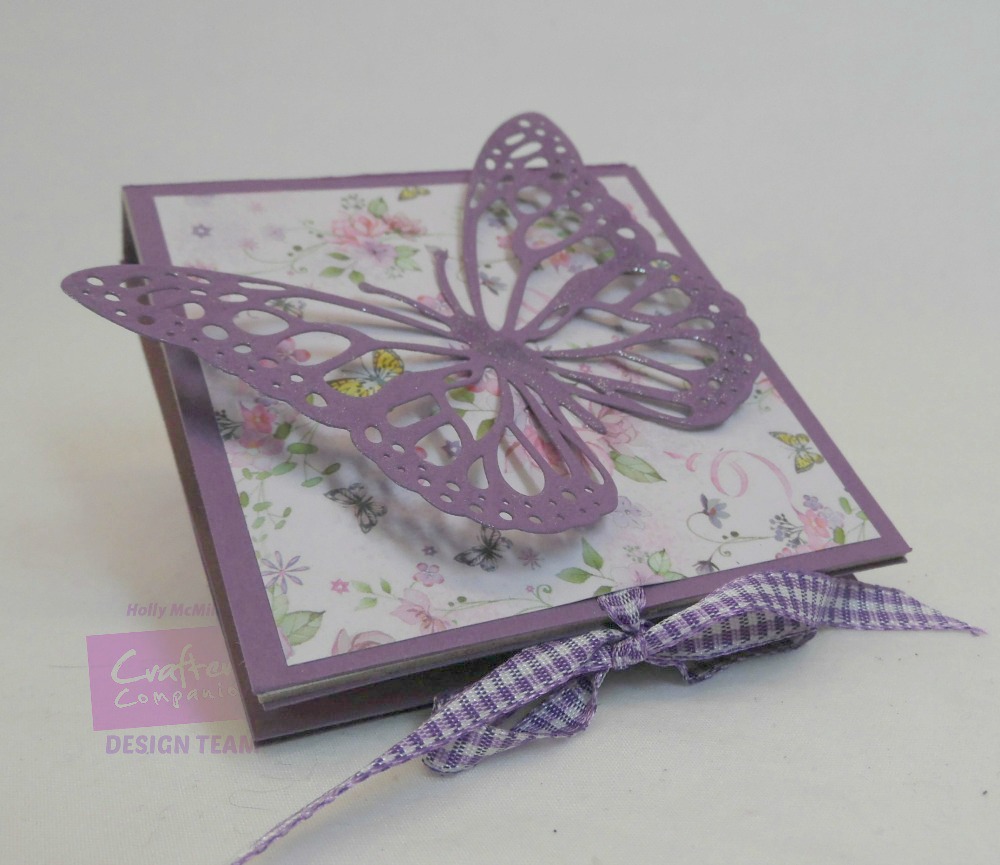
I really love detailed projects, but every now and again I like something sweet and simple. This little project takes barely any time at all and is so sweet!
Supplies needed:
Butterfly Lullaby 6 x 6 paper pad
Butterfly Lullaby large butterfly die
Other:
Ribbon
Chipboard
Ruler
Xacto knife
Post it Note pad
Strong adhesive
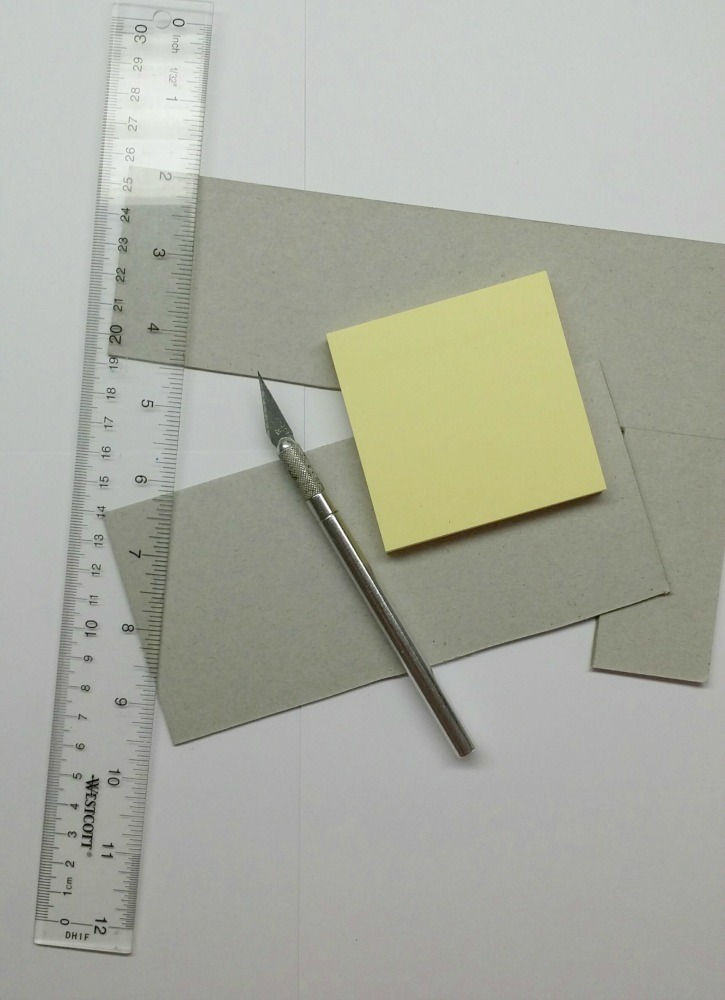
Cut your chipboard to measure 3 1/4″ x 7″
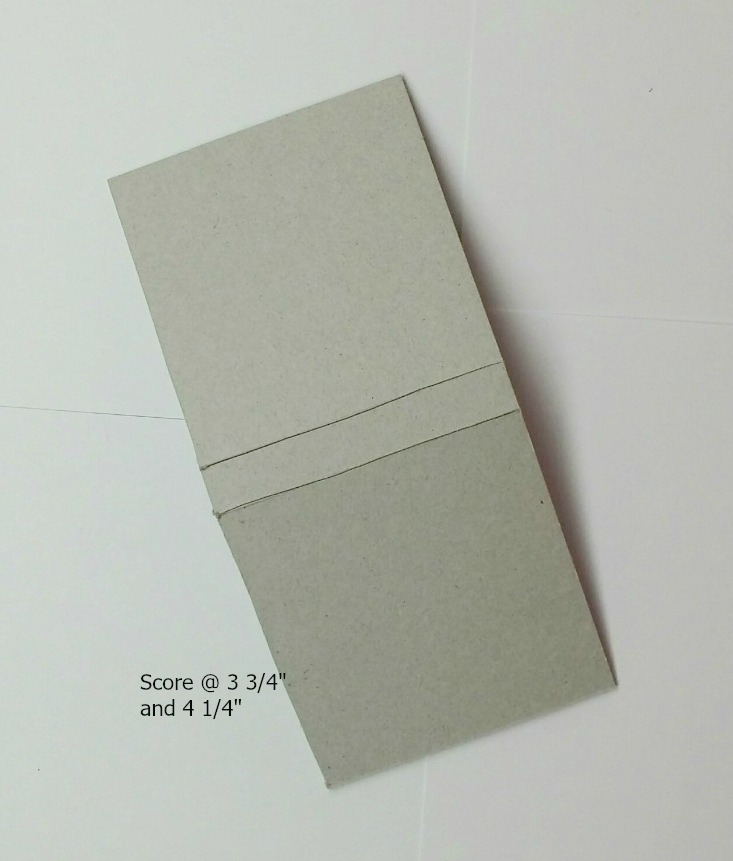
Score along the landscape side at 3 1/4″ and 3 3/4″
Cut solid color cardstock:
4 pieces cut at 3 1/4″ x 3 1/4″
2 pieces cut at 3 1/4″ x 1″
Patterned paper:
4 pieces cut 3″ x 3″
2 pieces 3″ x 3/4″
Ribbon:
2 pieces approximately 12″ long

Attach solid cardstock with strong adhesive to the chipboard base.
Adhere the ribbon to the middle of the front (piece #1) and the other to the middle of the back.
These will now be covered by the patterned paper.
Attach the patterned paper to all sides of the holder using strong adhesive.
The tails of the ribbon will stick out and tiesd h
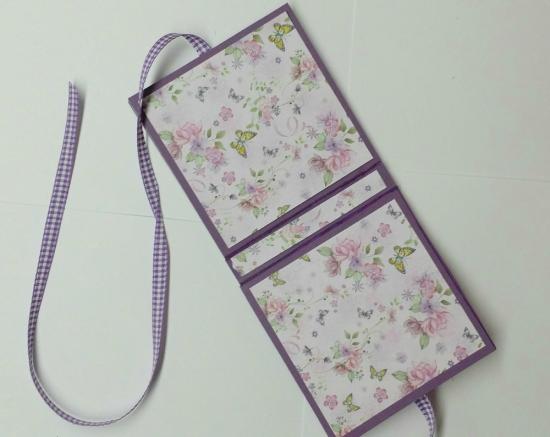
You have two options here. You can glue the post it note into the holder or just take the backing off and stick it on. I went with the glue method to keep the post it note in place.

Another option is to create a pen loop before you add the paper to the chipboard. There use to be a ton of tiny pens out there and someone must have a good stash of them!
That’s it! Easy Peasy!
Thanks for stopping by!
~ Holly

