~A Gift For You~ Tutorial
January 8th, 2009 by Holly McMillen
Good Evening!
I have been a busy girl today and I have lots to share! I have had several people ask me for the instructions on how to make my acetate gift bags, so here we go!
******************* CLICK ON PICS TO MAKE THEM BIGGER! ***************
Supplies needed:
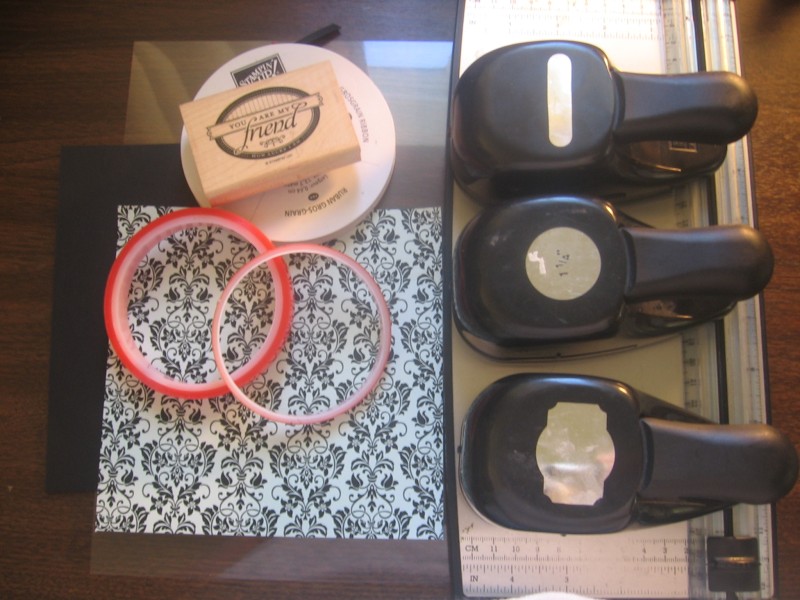
1 piece cardstock 7″ x 6″
1 piece acetate (transperancy) 11″ x 7″
designer label punch
Sticky tape
Scoring blade
Stamps and dp to decorate
Ribbon
 Score 7″ x 6″ piece of cardstock at 2″ on all four sides.
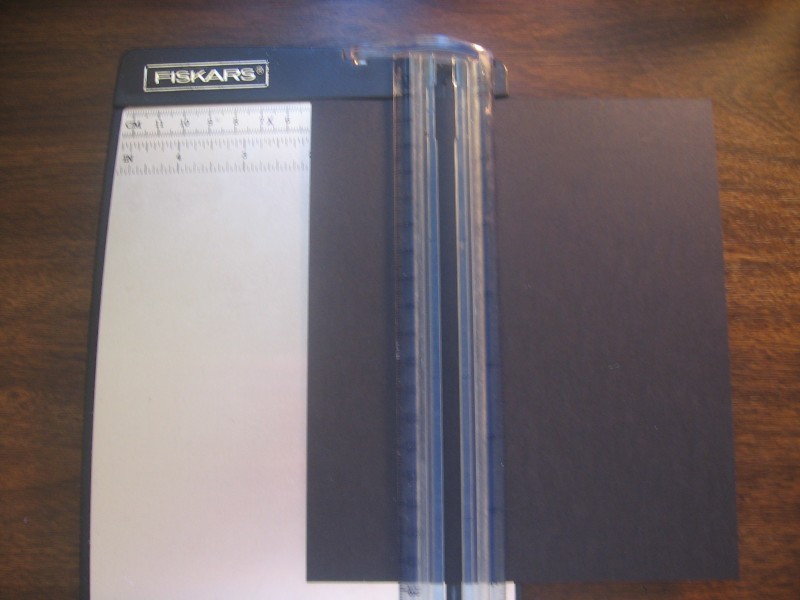
 On the 7″ sides, cut the score lines up to the 2″ line as shown.
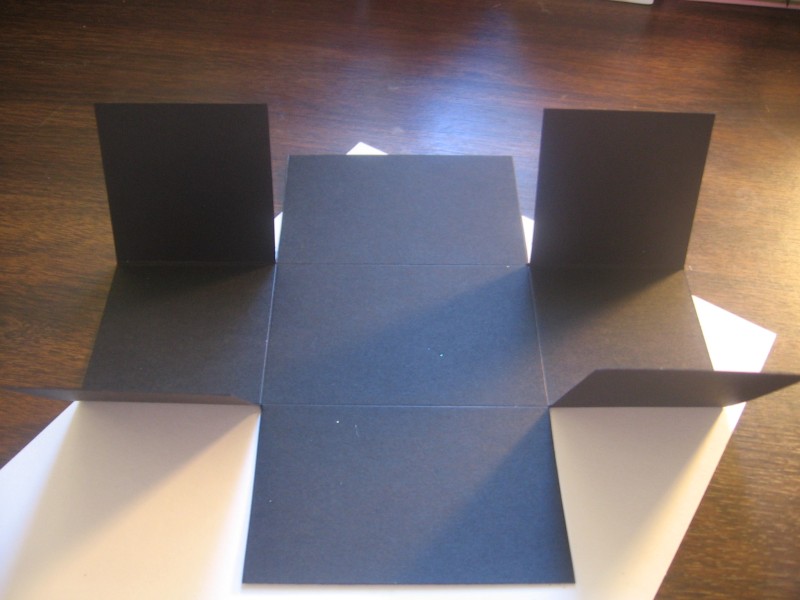
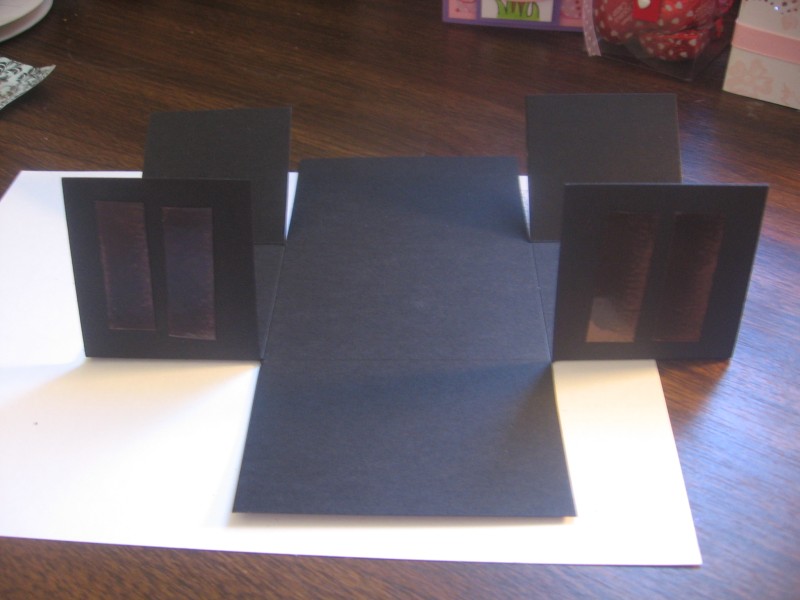 Apply sticky tape to the ‘tabs’ you’ve created and form a box. Set this aside for later.
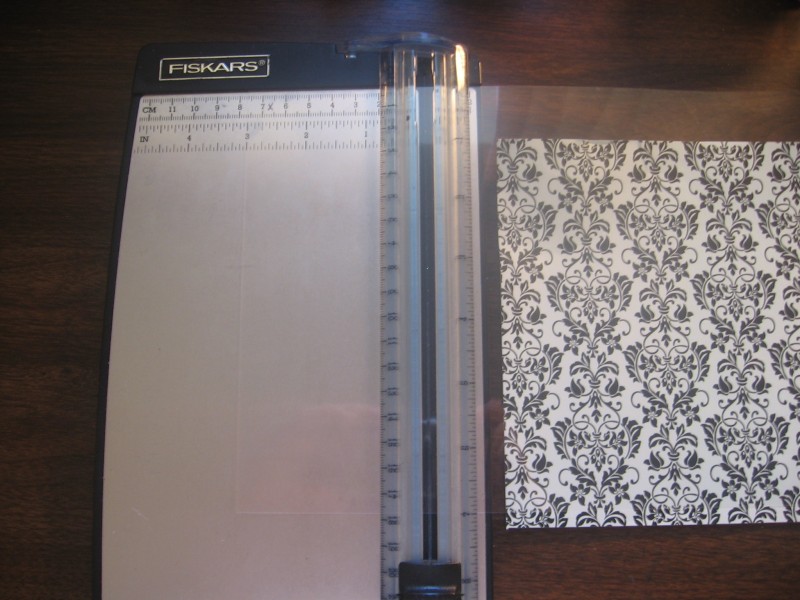 Score 11″ x 7″ piece of acetate at 3″, 5″, 8″ and 10″ (you will have a 1″ tab left at the end of your piece)
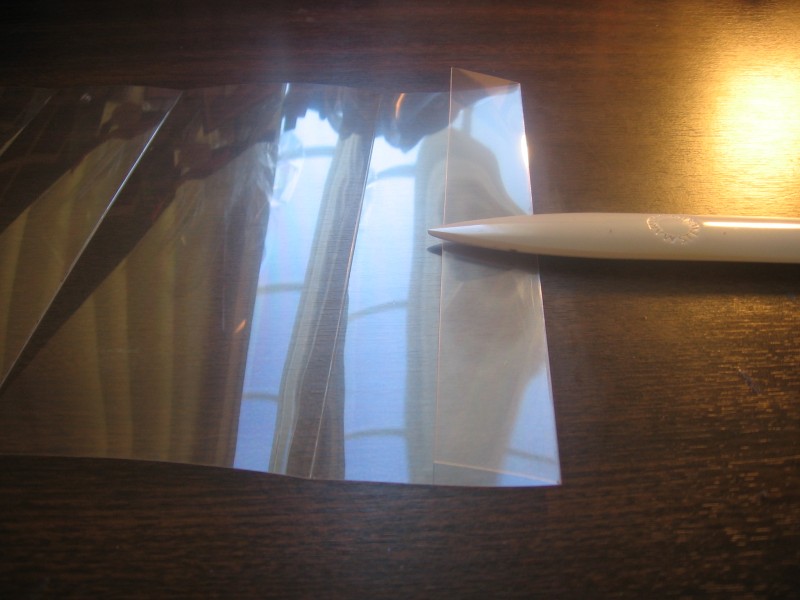 Using a bone folder, crease your acetate to give it crisp fold lines.
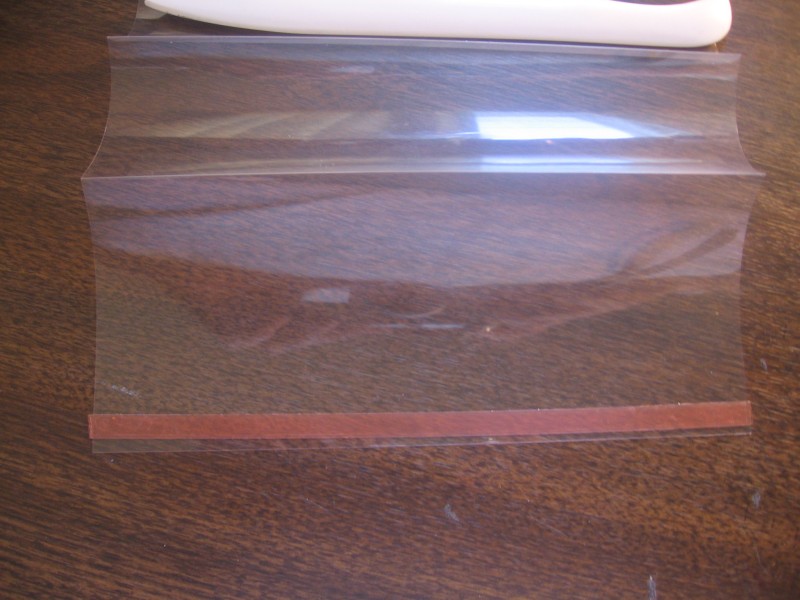 Apply sticky tape (I use 1/4″) to the very end as shown. Peal back red liner and attach the ends.
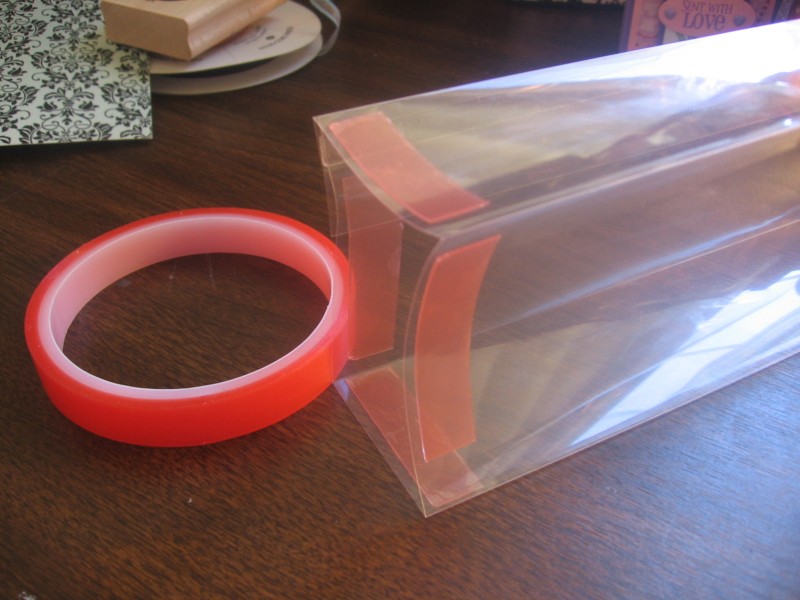 Apply sticky tape to the bottom of your newly formed square piece of acetate as shown.
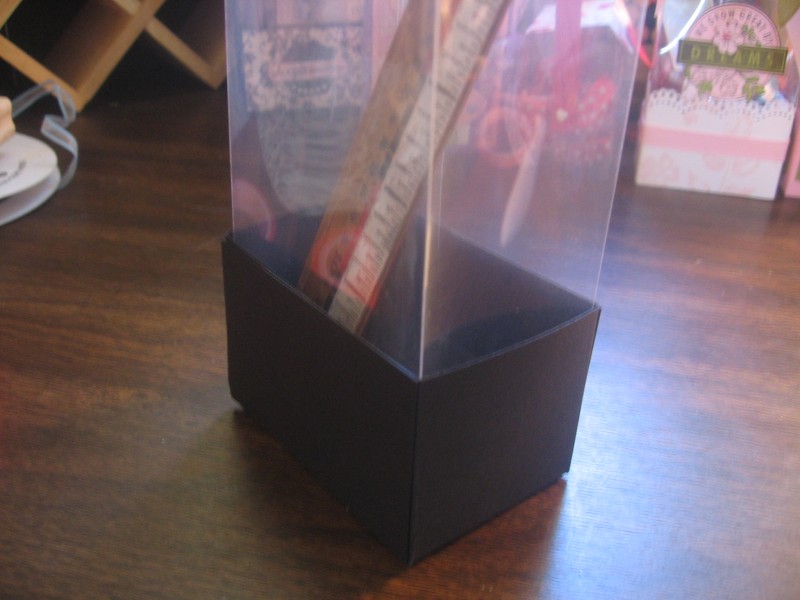 Peal the red liner and insert into your previously made box. I use a ruler to help secure it to the sides of the box.
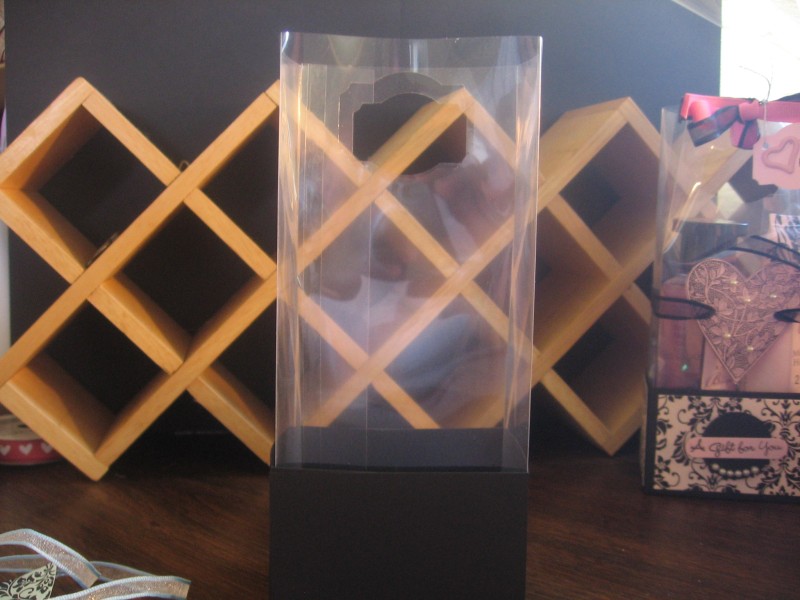
 Using the designer label punch, squeeze your acetate together, flattening it, and insert it into your punch as shown and punch. This creates your handle.
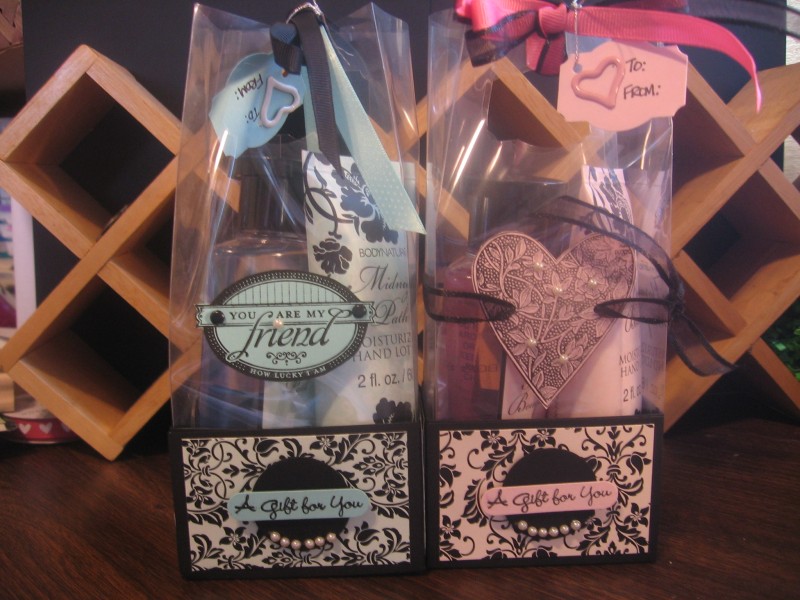
Decorate your box as desired.
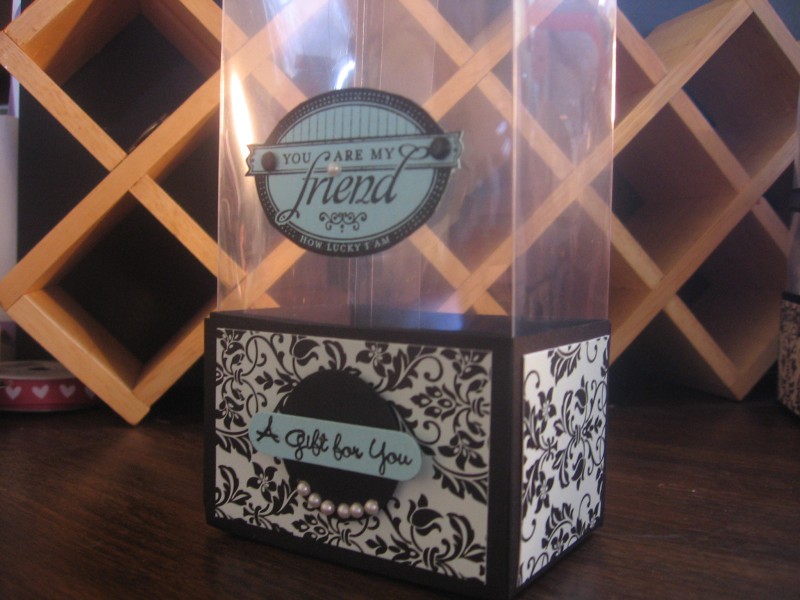
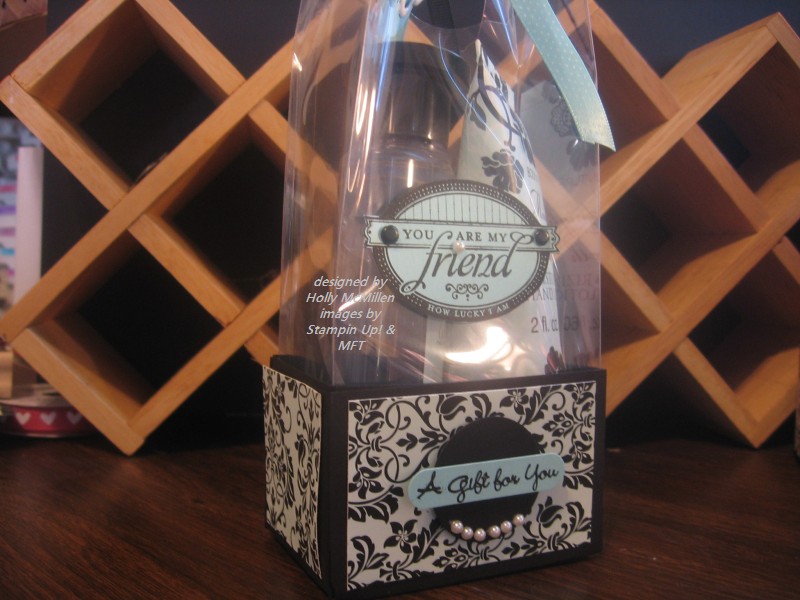 Fill with goodies, tie top with ribbon and you’re done!
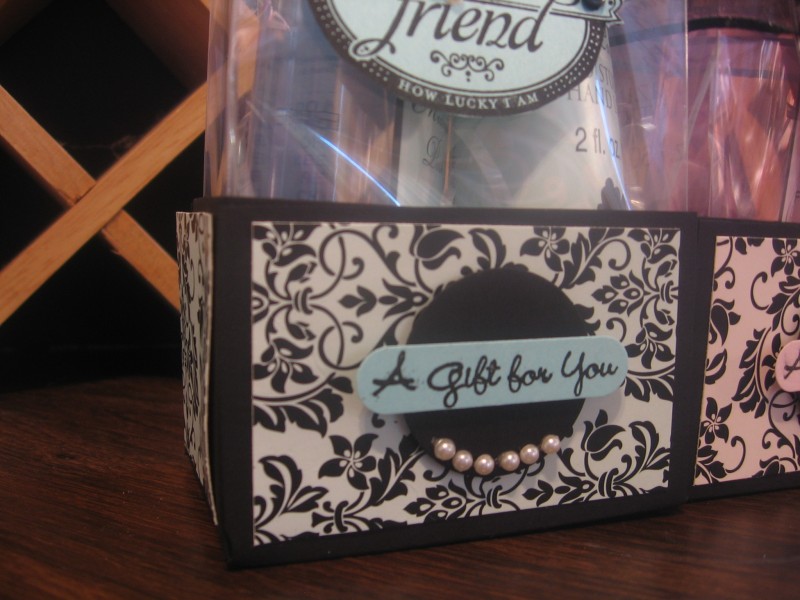
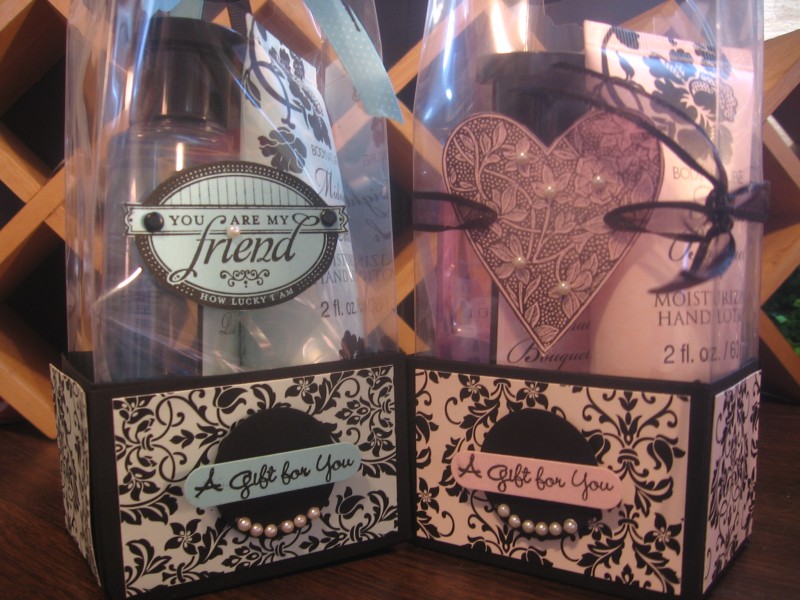
Here is a close up or two:
If you have any questions about how a step is done, please do not hesitate to e-mail me at [email protected] !
I will have the tutorial for the Candy box cover tomorrow! Please come back! 🙂
TFL!~


Awesome tutorial, thanks for sharing.
Love this! I am going to a friends house in the next few weeks for a get togeher and I always like to bring a small hostess gift……this will be perfect! thanks so much for sharing!
What is it about boxes that I can’t stay away from. Whenever I see a box to my liking (which is quite alot) I just have to give it a try. I LOVE boxes!!! I’m so glad i’m not the only one who loves boxes & bags…hee hee ;0) Another one added to my “to do” list…thanks Holly!
these look fab, TFS 🙂