A Little Box of Pampering
January 3rd, 2009 by Holly McMillen
 Good Afternoon Ya’ll….
I need a twelve step program. I am officially obsessed with boxes and bags. I love giving gifties to my friends and family and am always looking for a new way to ‘package’ those gifts. Combined with my love for paper, well.. you can see where this is going.
So, I was blog hopping and SCS surfing and came across this little container here. It is really cute, but I thought I could make it a bit easier, so I did! I still give full credit to the blog owner (Creations by Corie), but I take a little credit for the simplified design.
Here is what I did:
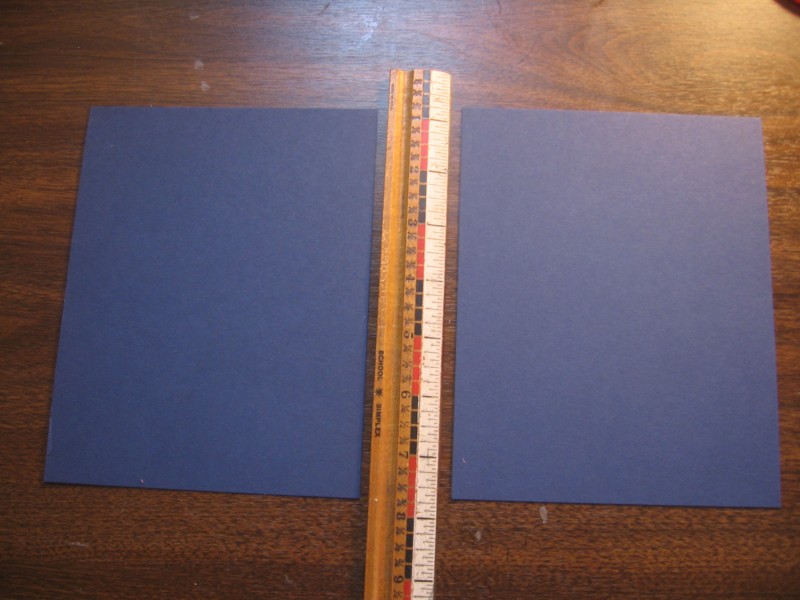
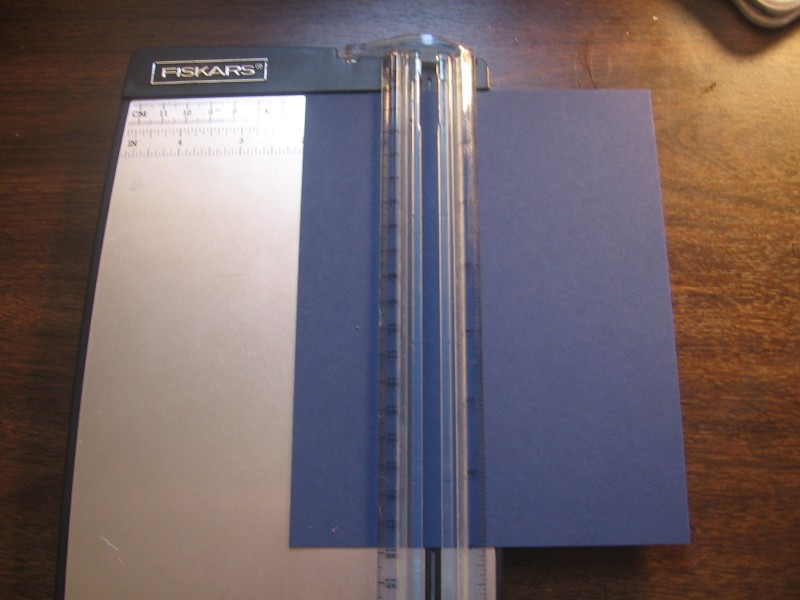
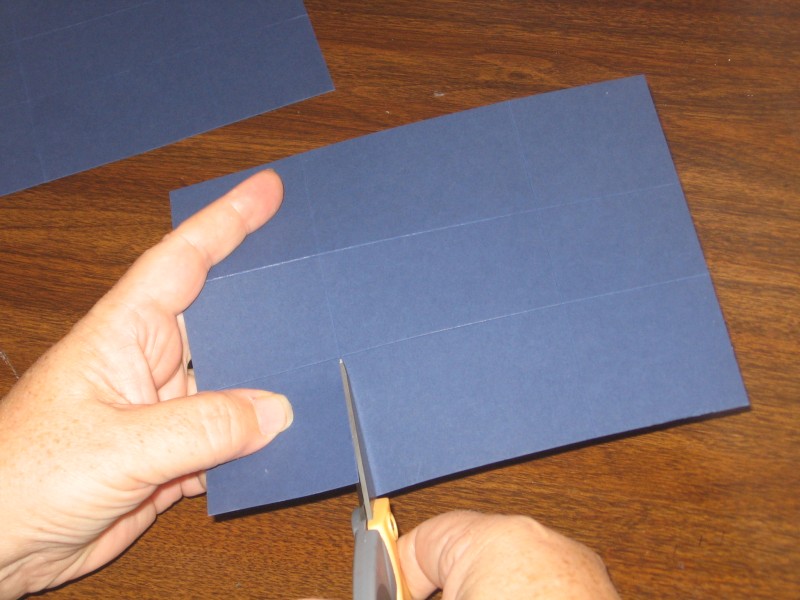
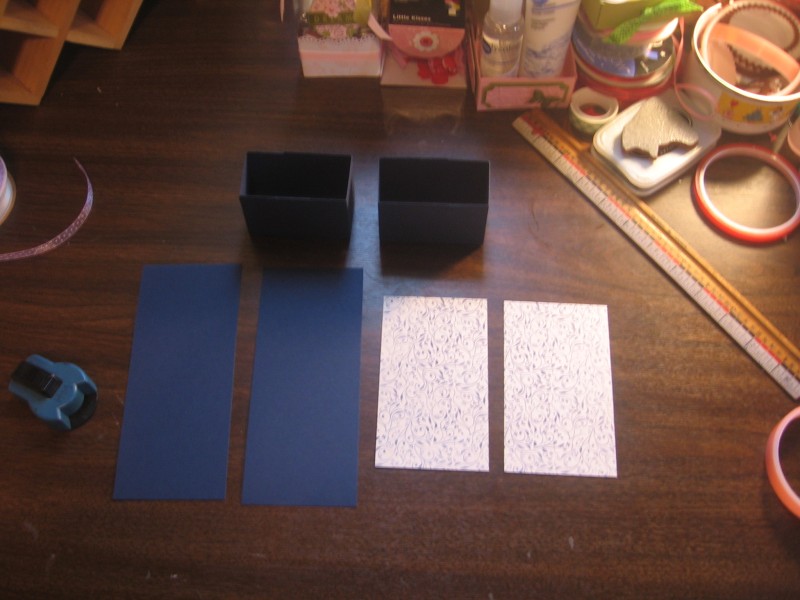
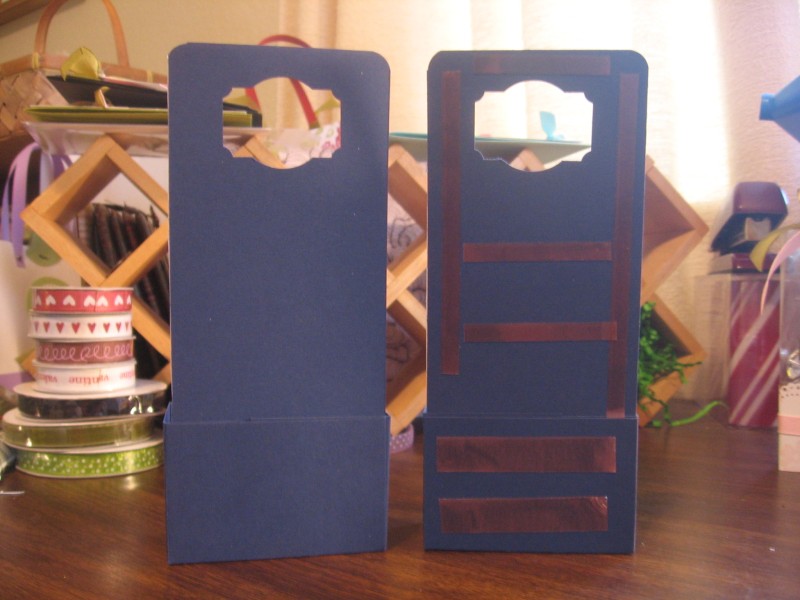
Step 1: Cut two pieces of cardstock (I used Night of Navy) 7 inches x 5 1/2 inches. Score on all sides at 2 inches. Cut as shown below. Using sticky tape, create your two box bottoms.
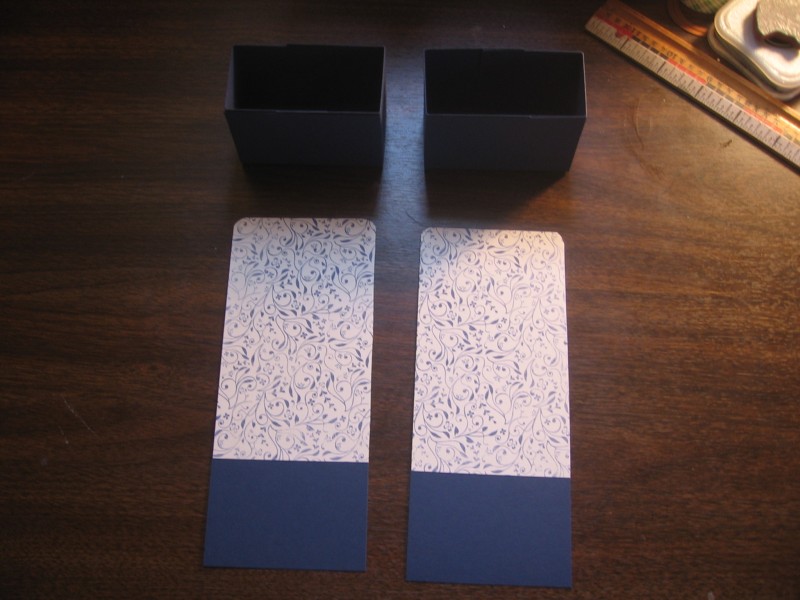
Step 2: Cut two pieces of cardstock (again I used Night of Navy) 2 15/16 inches x 7 inches. Cut two pieces of designer paper 2 15/16 inches x 5 inches. Adhere designer paper to cardstock as show.
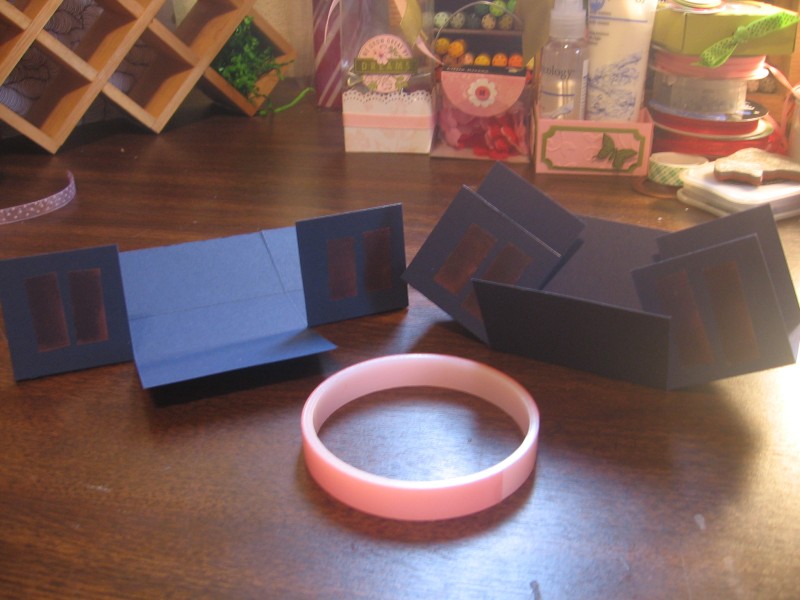
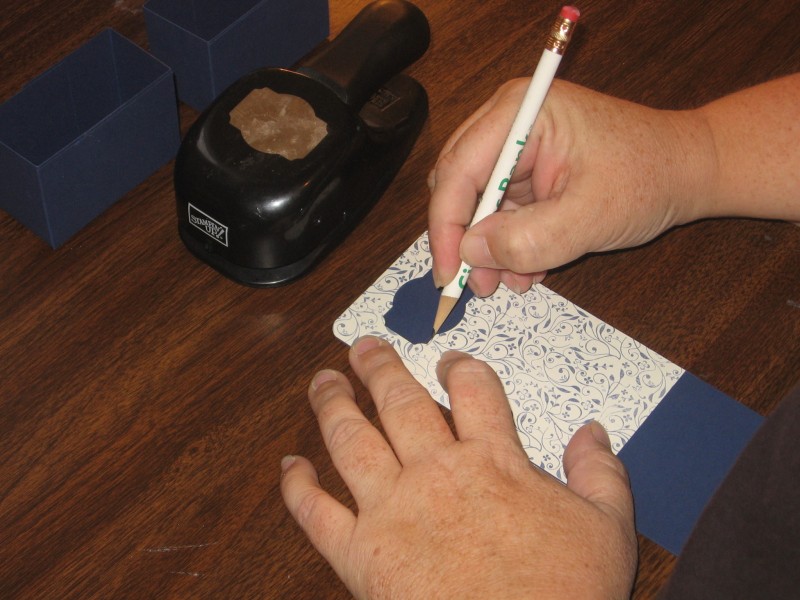
Step 3: Using your desired ‘handle’ punch (I used the designer label punch), punch through each of your stand up pieces. To line them up, I first punched one, then traced the shape onto the second to assure proper alignment.
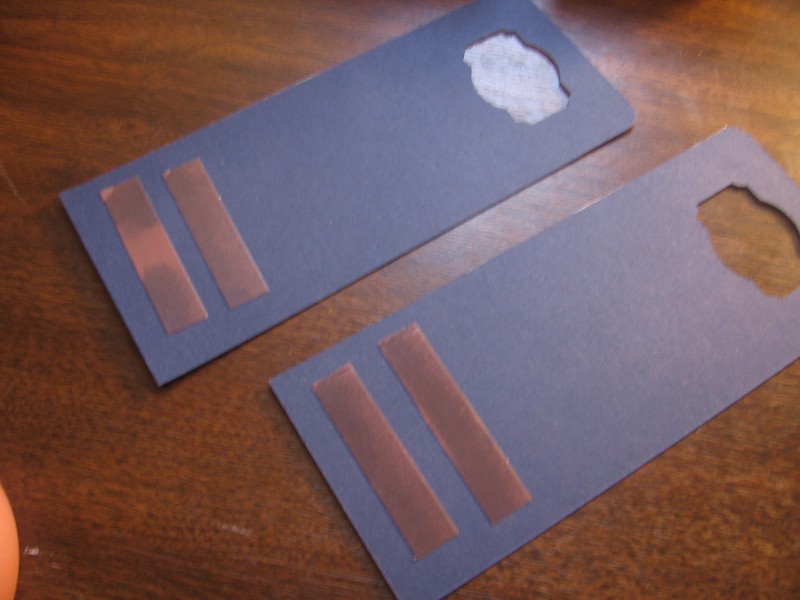
Step 4: Put sticky tape on the back of your stand up pieces and adhere to inside of boxes.

Step 5: Using sticky tape, adhere the two pieces back to back.
Decorate as desired!
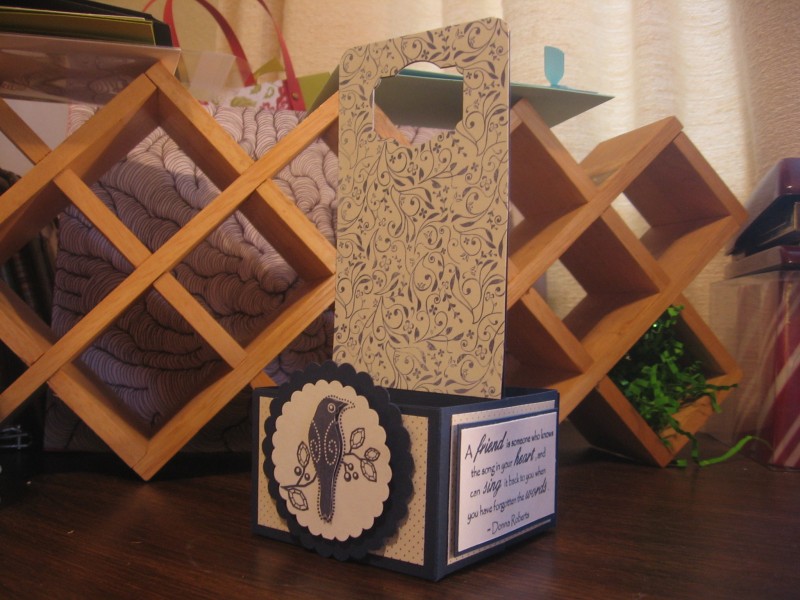
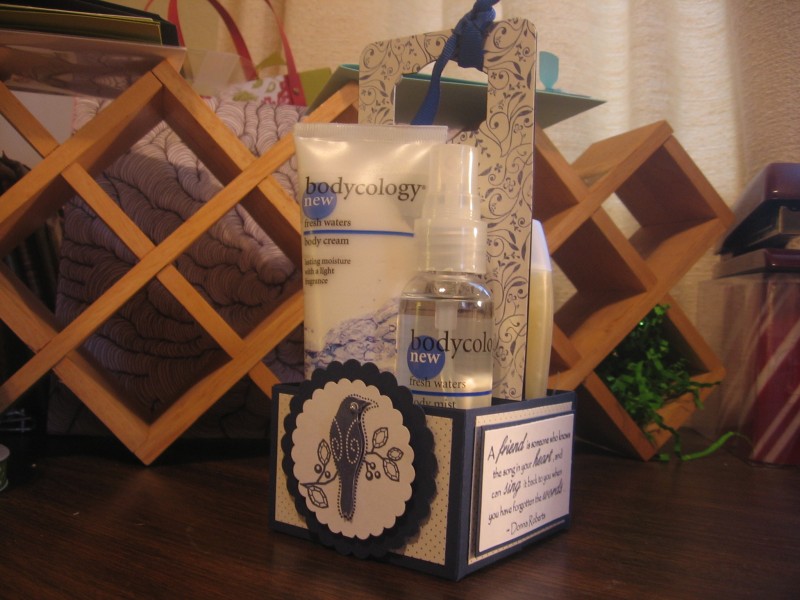
Fill with goodies and voila…. quick gift!
Thanks for stopping by! Have a great night!!


Thanks for the instruction, Holly. This is a wonderful little box. It’s amazing how something so simple to make can look so wonderful as a gift. Great job.
You are the box master!! I think I have made one in my whole life! Can you come over and play?
WOW — this is fantastic. Your instructions are so much easier!!
Great, easy to follow tutorial! Thanks for sharing.
Thanks Holly!!! I’m ALL over it….totally simple for even me!!!!
You da bestest…. 🙂